
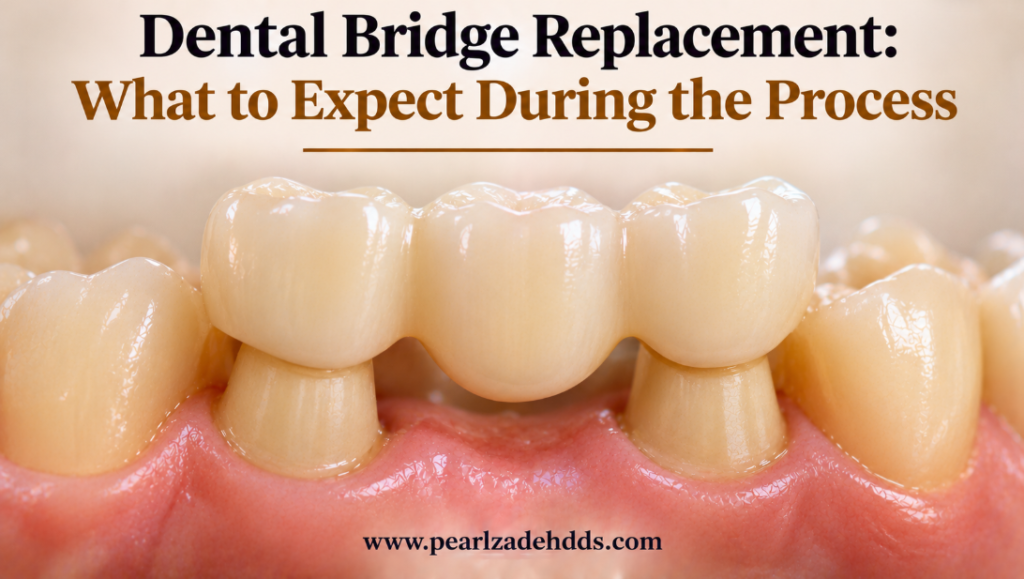
A dental bridge may need replacement if it becomes worn, damaged, loose, or no longer fits properly. The replacement process begins with an examination of the existing bridge and the teeth supporting it.
Replacing an old bridge is not always as simple as removing it and placing a new one. The condition of the supporting teeth and surrounding gums can affect the treatment plan. Some patients may need additional dental care before a replacement bridge can be made.
Why Might a Dental Bridge Need Replacement?
A dentist may recommend replacing a dental bridge for several reasons:
- Normal wear over time.
- Cracks, fractures, or other damage.
- Decay around or beneath the supporting teeth.
- Changes in the bridge’s fit or stability.
- Gum problems affecting the supporting teeth.
Not every issue requires a new bridge. The dentist must assess the restoration and its supporting teeth before recommending treatment. For more details, see the guide to signs a dental bridge needs replacement.
Step 1. Examination of the Existing Bridge
During the examination, the dentist checks:
- The condition of the existing bridge.
- The health of the supporting teeth, also called abutment teeth.
- The surrounding gums.
- The bridge’s fit and the patient’s bite.
- Signs of decay, cracks, or other damage.
X-rays may also be recommended when needed. The American Dental Association explains that dental X-rays can reveal damage or disease that may not be visible during an examination. The dentist decides whether imaging is necessary based on the patient’s dental condition.
The supporting teeth must also be healthy enough to hold a new bridge. If they need treatment, the dentist may recommend addressing those problems before proceeding with the replacement.
Step 2. Removing the Old Dental Bridge
Once the dentist has assessed the existing bridge, the next step is removal. The technique depends on how the bridge was attached and whether the dentist can remove it intact.
Some bridges can be carefully detached, while others need to be sectioned, meaning they are cut into smaller pieces before removal. Local anesthesia may be used depending on the procedure and the patient’s needs.
The dentist works to preserve the supporting teeth whenever possible. However, removing an older bridge can sometimes affect the underlying teeth, particularly if decay or damage is present.
Step 3. Preparing the Supporting Teeth
After removing the bridge, the dentist examines the supporting teeth to check their condition. Preparation may involve:
- Removing old dental cement or leftover restorative material.
- Treating decay, if present.
- Repairing or rebuilding a supporting tooth when appropriate.
- Refining the tooth preparation for the new bridge.
Not every patient needs additional treatment. If a supporting tooth has significant damage, the dentist may need to discuss whether another bridge is still a suitable option.
Step 4. Taking Impressions or Digital Scans
Once the supporting teeth are ready, the dentist records their shape and position, along with the surrounding structures and bite. This can be done using traditional dental impressions or digital scans.
Cleveland Clinic explains that traditional impressions are sent to a dental laboratory, where technicians use them to make a bridge that fits the prepared teeth.
The dentist may also select the shade of the replacement teeth at this stage. Color, shape, and appearance are particularly important when the bridge replaces a visible front tooth.
Step 5. Wearing a Temporary Dental Bridge
The dentist may place a temporary bridge while the permanent one is being made. Cleveland Clinic explains that a temporary bridge can stay in place until the dental laboratory finishes the final restoration. Whether one is needed depends on the treatment plan.
A temporary bridge covers the prepared teeth and helps maintain appearance and basic function during this period.
Patients should avoid sticky or hard foods because these can loosen or dislodge the temporary restoration. It may also feel slightly different from the permanent bridge.
If the temporary bridge becomes loose or comes off, contact the dental office. Do not use household glue or other adhesives to reattach it. The article on temporary and permanent dental bridges explains how the two restorations differ.
Step 6. Fitting and Placing the New Porcelain Bridge
Once the replacement bridge is ready, the dentist checks several details before securing it:
- How the bridge fits against the supporting teeth.
- Contact with nearby teeth.
- Whether the bite feels even.
- The shade, shape, and overall appearance.
- Whether any adjustments are needed.
Once the dentist is satisfied with the fit and bite, the bridge is secured using appropriate dental cement.
Patients should mention any discomfort or concerns about the fit before the bridge is permanently cemented.
Dr. Pearl Zadeh DDS offers porcelain dental bridges and focuses on metal-free ceramic restorations. The appropriate bridge design depends on the condition of the supporting teeth, the location of the missing tooth, and each patient’s dental needs.
What Should You Expect After Dental Bridge Replacement?
Some patients notice a few changes after their new bridge is placed:
- Mild sensitivity in the supporting teeth.
- Temporary gum tenderness.
- A short adjustment period as the mouth gets used to the new bridge.
- A need for bite adjustment if the restoration feels uneven.
These changes can vary from person to person. Contact the dentist if you experience persistent or worsening pain, a noticeably high bite, swelling, or movement in the bridge. Ongoing discomfort should not be dismissed as part of the adjustment period.
How to Care for Your New Dental Bridge
Daily cleaning and regular dental visits help protect the new bridge and its supporting teeth.
- Brush twice daily with a soft-bristled toothbrush.
- Clean around the supporting teeth and beneath the bridge using suitable tools. See the guide to cleaning under a dental bridge properly for detailed instructions.
- Use floss threaders, specialized floss, or a water flosser as recommended by the dentist.
- Avoid biting down on very hard objects.
- Attend recommended dental checkups.
- Contact the dentist if the bridge feels loose, uncomfortable, or damaged.
Schedule a Consultation With Dr. Pearl
Replacing a dental bridge starts with an examination of the existing restoration, supporting teeth, and surrounding gums. This helps determine whether a new bridge is suitable and whether any other treatment is needed first.
Dr. Pearl Zadeh can assess an existing bridge and discuss whether a porcelain replacement may be appropriate.
Call (818) 716-6722 or click the button below to schedule your consultation online.
Frequently Asked Questions
It varies. Cleveland Clinic describes two office visits for a new traditional bridge. It says making the bridge usually takes about two to four weeks. Replacement may differ if the supporting teeth need treatment first.
Comfort varies by patient and procedure. Local anesthesia may be used. Some tenderness afterward can happen, so patients should report anything that persists or worsens.
Often one is placed while the permanent bridge is made, but it depends on the treatment plan. A temporary bridge protects prepared teeth and helps with appearance and function.
The dentist aims to preserve them, but no one can guarantee it. Removal technique, the original attachment, and the condition of the teeth all play a role.
Sometimes. The dentist must confirm that the supporting teeth are healthy and strong enough. Additional treatment may be needed first, and some teeth may not be suitable.
The information above is for informational purposes only and is not a substitute for professional dental advice. Please schedule a consultation with Pearl Zadeh DDS to discuss your specific situation.